Making a choker necklace with beads is easy and only requires a few supplies. You will need: beads, beading wire, two small jewelry clasps, and needle-nose pliers. First, string your beads onto the beading wire.
Make sure to leave about 6 inches of extra wire at each end. Once all of your beads are strung, use the needle-nose pliers to attach a clasp to one end of the necklace. Repeat on the other end.
Your choker necklace is now complete!
- Gather the supplies you will need to make your choker necklace with beads
- You will need beads in the colors and sizes of your choice, as well as wire or thread to string them together
- You will also need a clasp to fasten the necklace around your neck
- Decide on the pattern or design you want for your choker necklace
- Will you string all of the beads together in one long strand, or will you create a more intricate design with multiple strands? Once you have an idea of the overall look you are going for, begin stringing your beads onto the wire or thread
- When all of the beads are strung together according to your desired design, add a clasp to one end of the necklace
- Then try on the necklace to make sure it fits comfortably around your neck and adjust it as necessary before trimming any excess wire or thread from the other end
How to Make a Stretchy Beaded Choker
Making a beaded choker is a great way to show off your personality and style. They are also relatively easy to make, so anyone can do it! Here is a simple guide on how to make a stretchy beaded choker:
1. Gather your materials. For this project, you will need some elastic cord, beads, pliers, and scissors. You can find all of these items at your local craft store.
2. Cut the elastic cord to the desired length. Make sure that it is long enough to comfortably go around your neck without being too tight.
3. String the beads onto the cord in any pattern or design that you like.
If you are using larger beads, you may want to use two strands of cord so that they don’t slide off easily.
4.. Once all of the beads are on the cord, tie off each end with a knot.
How to Make a Beaded Choker With Wire
Making a beaded choker with wire is a fun and easy project that anyone can do! You can use any type of beads that you like, and the only other materials needed are some wire and pliers. Here’s how to make your own beaded choker:
1. Start by threading your beads onto the wire. If you want your choker to be a certain length, measure the wire against your neck before adding the beads. Leave about 6 inches of wire at each end so that you’ll have enough to work with later on.
2. Once all of your beads are on the wire, use pliers to twist each end of the wire several times so that the beads stay in place.
3. Next, take one of the long ends of wire and wrap it around the other end, making sure to go through all of the beads as you do so. Wrap it tightly and then twist the two wires together several times to secure them in place.
4. Finally, cut off any excess wire and enjoy your new beaded choker!
How to Make a Beaded Choker With Clasp
A beaded choker can add a touch of elegance to any outfit, and they’re surprisingly easy to make! All you need is some wire, beads, and a clasp. Here’s how to do it:
1. Start by measuring your neck and cutting a piece of wire that’s about 2 inches longer than that measurement. Then, thread on your beads in the pattern of your choice. Make sure to leave enough space at the end of the wire for attaching the clasp.
2. Once all of your beads are in place, use pliers to bend each end of the wire into a small loop. This will keep them from slipping off when you put on the choker.
3. Attach your chosen clasp to one end of the necklace, and then connect the other end to it.
And that’s it – you’ve now made yourself a beautiful beaded choker!
How to Make a Choker Necklace With String
Making a choker necklace with string is easy and only requires a few materials. You will need: string, scissors, tape measure, and something to tie the string around (such as a ribbon or piece of leather). First, measure your neck and cut the string to the desired length.
Next, tie the string around your neck, making sure it is not too tight. Finally, tie the ends of the string together in a knot or bow. That’s it!
You now have a beautiful choker necklace that you made yourself.
Beaded Choker Necklace
A choker is a close-fitting necklace, worn high on the neck. A beaded choker necklace is a type of choker that is decorated with beads. Beaded chokers are often made with seed beads and they can be strung on thread, wire, or cord.
They can be simple or elaborate, and they are often adorned with charms or pendants.
Beaded chokers are a popular style of necklace, and they have been worn by many different cultures throughout history. In ancient Egypt, beaded necklaces were worn as amulets to protect against evil spirits.
In the Victorian era, beaded chokers were fashionable accessories for ladies of all social classes. Today, beaded chokers are still popular and they are worn for both fashion and personal meaning.
If you’re interested in wearing a beaded choker necklace, there are many different ways to style them.
You can wear them alone or layered with other necklaces. You can also choose between different materials such as glass beads, metal beads, wood beads, or even plastic beads. And finally, you can select from a range of colors to create your own unique look.
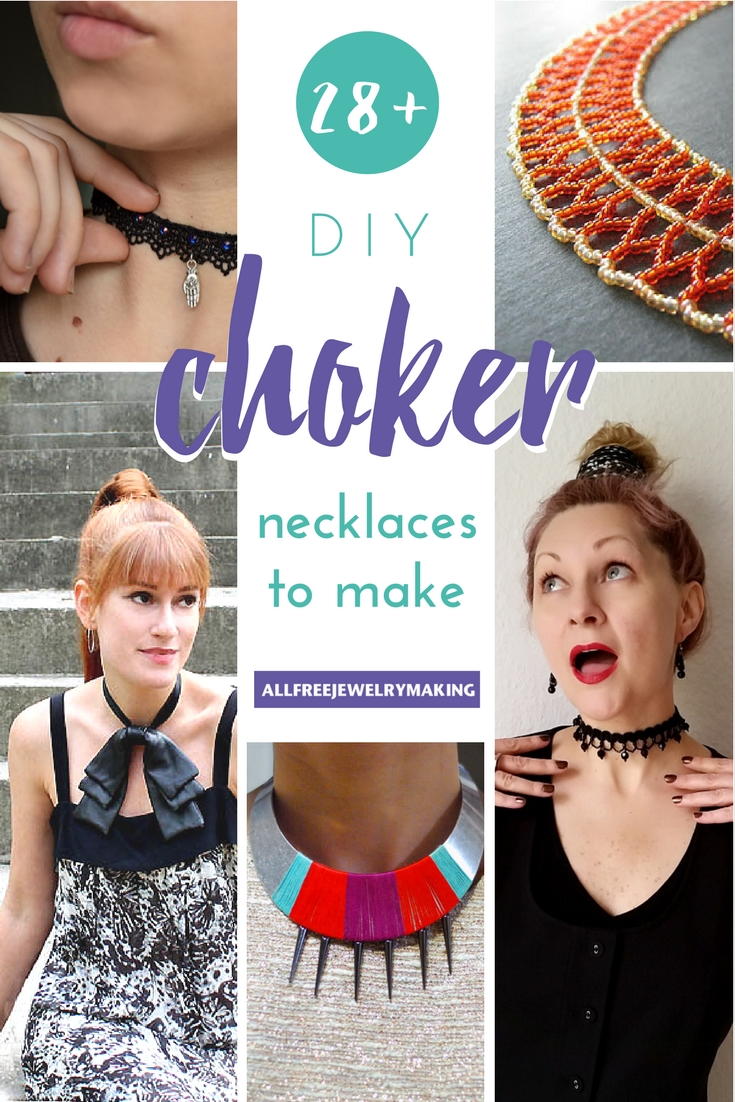
Credit: www.allfreejewelrymaking.com
What Do You Need to Make Beaded Chokers?
Beaded chokers are a fun and easy way to add a little flair to your outfit. All you need is a few supplies and some time, and you can make your own beaded choker in no time!
To get started, you’ll need:
-Beads of your choice (I like to use seed beads or glass beads)
-Stretchy string or beading wire
-Scissors
-A needle (optional)
First, decide how long you want your choker to be. Cut a piece of string or beading wire that is about twice as long as the length you want your choker to be.
This will give you enough room to work with the beads and tie off the ends.
Next, start threading beads onto the string or wire. I like to mix up different colors and sizes of beads for an interesting look.
Once you have enough beads on the string or wire, tie off one end. If using string, knot it several times so that it doesn’t come undone.
Now it’s time to put on your new choker!
Slip it over your head and adjust it so that it sits comfortably around your neck. To secure it in place, tie a knot at the other end of the string or wire. Again, if using string, make sure to knot it several times for extra security.
Trim any excess string or wire, and you’re done!
What Do I Need to Make a Choker Necklace?
Choker necklaces are all the rage these days. They can be dressed up or down, and they add a touch of edge to any outfit. If you’re looking to make your own choker necklace, all you need is some fabric or ribbon, a clasp, and some basic sewing supplies.
First, measure the fabric or ribbon around your neck to get the right length. Cut the fabric or ribbon to size, leaving a few extra inches for adjustments. Next, attach the clasp to one end of the fabric using a needle and thread.
Then, simply tie the other end of the fabric around your neck to finish the necklace. You can adjust the fit as needed by making it tighter or looser with the knot. And that’s it!
You’ve now made your very own choker necklace.
How Do You Make a Basic Choker?
Chokers are making a comeback in the fashion world, and there are many ways to make your own. A basic choker can be made with just a few supplies and some simple instructions.
Supplies:
-String or ribbon
-Scissors
-Tape measure (optional)
-Clasp (optional)
Instructions:
1. Cut a length of string or ribbon that will comfortably fit around your neck.
If you are using a clasp, add an extra inch or two to allow for attaching the clasp. Measure your neck with a tape measure if you need help determining the correct length.
2. Tie the ends of the string together to form a loop, or attach a clasp if you are using one.
3. Your choker is now ready to wear! You can leave it as is, or dress it up with charms, beads, or other embellishments.
How Do You Make Boho Beaded Chokers?
Boho beaded chokers are all the rage right now, and it’s easy to see why. They’re fun, bohemian-inspired pieces that can add a touch of whimsy to any outfit. If you’re looking to add one (or a few!) to your jewelry collection, read on for a step-by-step guide on how to make them!
First, gather your materials. You’ll need some beads (of course), as well as some wire or thread. If you want your choker to be adjustable, you’ll also need a clasp.
Once you have everything gathered, it’s time to start stringing those beads!
If you’re using wire, start by threading it through the first bead. Then, add more beads until the wire is full.
When you get to the end, simply twist the wire closed so that the beads stay in place. If you’re using thread, simply tie a knot after each bead is added. Again, when you reach the end of the strand, knot it off so that the beads don’t slip off.
Now all that’s left to do is attach your clasp (if using) and enjoy your new boho beaded choker!
Beaded Seed Beads Choker Necklace Tutorial/Handmade Necklace
Conclusion
To make a choker necklace with beads, you will need the following materials: bead stringing wire, crimp beads, scissors, and needle nose pliers. First, determine the length of your desired necklace and cut the bead stringing wire to size. Next, thread the wire through all of the beads until they are evenly distributed.
Once the beads are in place, use crimp beads and needle nose pliers to secure them in place. Finally, cut off any excess wire and enjoy your new necklace!

