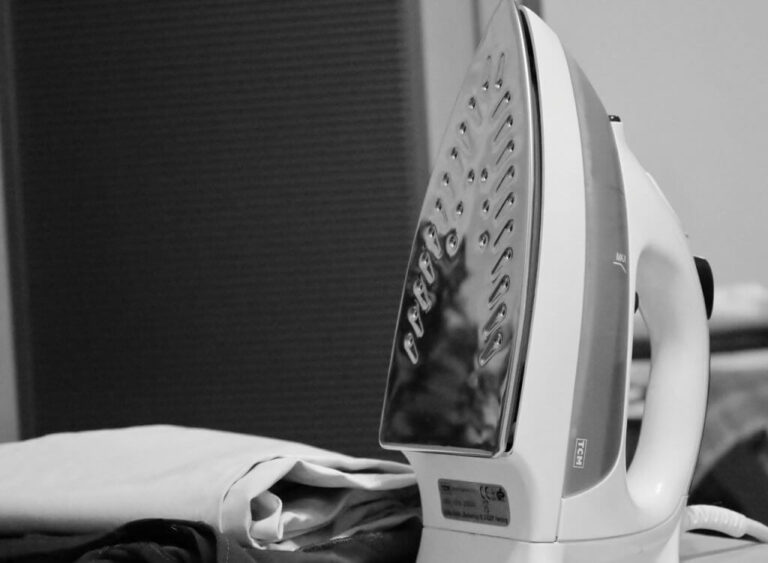
Step 1: Gather your materials. You will need Perler beads, a piece of parchment paper, an iron, and something to fuse the beads together with, like a clothes iron.
Step 2: Place your Perler beads on the parchment paper.
Make sure that they are placed close together so that they will fuse together easily.
Step 3: Cover the Perler beads with another piece of parchment paper. This will prevent them from sticking to your iron.
Step 4: Turn on your iron to the appropriate heat setting for melting plastic. Place the iron on top of the parchment paper and hold it there for a few seconds until the Perler beads start to melt together. Slowly move the iron over all of the beads to ensure that they all fuse together evenly.
If necessary, you can add more Perler beads to any areas that seem sparse.
Step 5: Allow the fused Perler bead design to cool completely before removing it from the parchment paper. Once it is cool, you can peel off the parchment paper and enjoy your new creation!
- Sort the beads by color
- It is helpful to have all of one color together so you can easily find the bead you need
- Choose a design or pattern
- There are many online resources that offer patterns for Perler Bead projects
- Place the beads on the Pegboard according to the design chosen in Step 2
- It is important to place the beads close together so they will fuse together properly when ironed
- Once all the beads are in place, carefully lift the Pegboard and place it on an Ironing Paper or parchment paper placed on an ironing board or other flat surface
- Cover the beads with another piece of Ironing Paper or parchment paper and slowly run a hot iron over the top, being careful not to move the iron back and forth as this will cause the beads to shift out of place
- 6 Allow the project to cool completely before removing it from the Ironing Paper or parchment paper
How to Use Perler Beads Without an Iron
If you’re looking for a fun and easy craft project, Perler beads are a great option! You can create all sorts of cool designs with them, but you don’t necessarily need an iron to do so. Here’s how to use Perler beads without an iron:
1. Preheat your oven to the lowest setting possible. Place your Perler bead design on an oven-safe surface, such as a baking sheet lined with parchment paper.
2. Bake your design for about 30 minutes, or until the beads are melted together.
Keep a close eye on it so that it doesn’t burn!
3. Once your design is cooled, it’s ready to use! You can now attach it to whatever surface you’d like, whether it’s a piece of clothing or a notebook cover.
Just be careful not to put it in the washing machine or dishwasher, as this could cause the design to come apart.
How to Use Perler Beads Without a Pegboard
Perler beads are a great way to make colorful designs, but you don’t need a pegboard to use them! Here’s how to get started:
1. Begin by threading your Perler beads onto a length of string or fishing line.
You can also use an embroidery hoop if you want to make a circular design.
2. Once all of your beads are in place, tie the ends of the string together to secure them.
3. Use a needle and thread to stitch around the outside of your design.
This will help keep your beads in place while you’re working with them.
4. When you’re finished stitching, carefully snip away any excess string or fishing line.
5. Now it’s time to start ironing!
Place your design on an ironing board covered with a piece of parchment paper or a clean cotton cloth. Make sure that none of your beads are touching each other, as this can cause them to fuse together during the ironing process.
6. Turn your iron on to the “low” setting and gently press down on top of your design for 30-60 seconds until all of the beads have melted into place.
Ironing Perler Beads With Parchment Paper
One of the great things about Perler beads is that they can be used to create a variety of different crafts, including keychains, magnets, and even jewelry. However, one thing that you need to be careful about when working with Perler beads is making sure that they are properly Ironed so that your craft will hold together.
If you are new to crafting with Perler beads, then you might not know that Ironing them is an important step.
Essentially, what you need to do is place a sheet of parchment paper over your design and then Iron it on low heat for around 30 seconds. This will help to melt the Perler beads together and create a stronger bond.
If you don’t have any parchment paper on hand, then you can also use wax paper or even an old T-shirt.
Just make sure that whatever material you use can withstand high temperatures without melting or burning. Once you’ve Ironed your Perler bead creation, let it cool completely before handling it so that the bonding process can finish up.
How to Melt Perler Beads With an Iron
Perler beads are a great way to add color and creativity to any project. However, if you’re not careful, they can be a bit of a pain to work with. One of the most frustrating things about perler beads is trying to get them to stay in place when you’re working with them.
If you’ve ever had your perler beads fall off the pegboard or end up in a tangled mess, you know what I’m talking about!
Fortunately, there’s an easy way to prevent this from happening: by melting the perler beads with an iron. Melting the beads will essentially “glue” them onto the pegboard, making it much easier to work with them.
Plus, it gives your project a nice polished look.
Here’s how to do it: first, preheat your iron to the lowest setting (this will vary depending on your iron). Next, place your perler bead design onto an ironing board or piece of parchment paper.
Then, carefully run the hot iron over the design for 10-15 seconds. Be sure not to press too hard or move the iron around too much – you don’t want to ruin your design! Finally, let the design cool before handling it.
That’s it! Your melted perler bead design should now be firmly attached to the surface and much easier to work with.
Can You Put Perler Beads in the Oven
Yes, you can put Perler beads in the oven! This is a great way to set your designs and make them permanent. Here’s what you need to know:
1. Preheat your oven to 200 degrees Fahrenheit.
2. Place your Perler bead design on a baking sheet lined with parchment paper or a Silpat mat. Make sure the beads are close together so they fuse together well.
If you’re using multiple colors, you may want to use two sheets of parchment paper or Silpat mats, one for each color palette.
3. Bake for 10-15 minutes, until the beads are melted and fused together. Keep an eye on them so they don’t burn!
4. Let cool completely before handling. Your design is now permanent!

Credit: www.youtube.com
How Do You Melt Perler Beads Perfectly?
When it comes to melting Perler beads, there are a few things you need to keep in mind in order to get the perfect result. First of all, make sure that you are using the correct type of bead. Regular Perler beads will not melt properly if you try to use a standard iron on them.
You need to use special Perler fuse beads, which can be found at most craft stores.
Once you have the right type of bead, the next step is to set up your ironing surface. You’ll want to use an old towel or piece of scrap fabric to protect your working surface.
Then, preheat your iron to the lowest setting possible. If your iron has a steam setting, make sure that it is turned off.
Now it’s time to start melting!
Place your design on top of the fabric and then cover it with another piece of scrap fabric. Using steady pressure, slowly run your iron over the top of the design for about 30 seconds. You should see the beads start to melt and fuse together.
If any beads pop up while you’re ironing, just press them back down with the tip of the iron.
Once all of the beads are melted, carefully lift up the top layer of fabric and check out your handy work! If any areas look like they could use a little more fusing, just put the fabric back in place and give them another quick blast with the iron.
And that’s all there is to it! With a little practice, you’ll be an expert at melting Perler beads in no time!
Do You Iron Both Sides of Perler Beads?
Yes, you should iron both sides of your Perler beads. This will help them to fuse together better and create a stronger bond. If you only iron one side, the beads may not adhere as well and could fall off your project.
How Long Do You Iron Perler Beads?
Assuming you are talking about ironing the beads into a design, the time will vary depending on the size and complexity of the design. Generally speaking, it will take anywhere from 5 to 30 minutes to iron a Perler bead design.
What Temperature Do You Iron Perler Beads?
If you’re looking to iron your Perler beads, you’ll want to use a setting of between 315-390 degrees Fahrenheit. Anything lower than that and the beads won’t fuse together, but if you go too high then they may melt and become distorted. You’ll also want to use a piece of parchment paper or a non-stick pressing sheet on top of your design to protect it from the iron.
How to Perler Beads for Beginners
Conclusion
Overall, Perler beads are a great way to have fun and be creative. With so many different colors and shapes available, the possibilities are endless. They can be used to make simple designs or complex ones.
Plus, they’re easy to use and don’t require any special skills. So whether you’re a beginner or an expert, Perler beads are a great option for anyone who wants to be creative.

