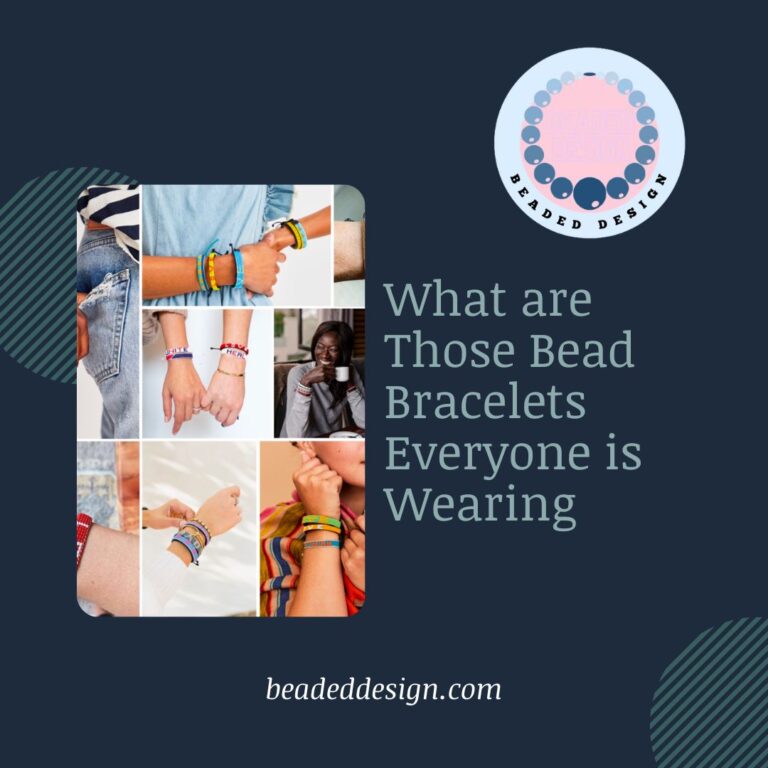
Step 1: Gather your supplies. You will need beads, thread, a needle, and something to hold the beads while you string them (optional).
Step 2: Decide on a pattern.
You can make wrap bracelets with all one type of bead or multiple types of beads. You can also string the beads in any order you like.
Step 3: String the beads onto the thread.
If you are using multiple colors of beads, alternate between colors as you string them on.
Step 4: Once all the beads are strung on, tie a knot at one end of the bracelet to secure the beads in place.
Step 5: Wrap the bracelet around your wrist and tie a knot at the other end to finish it off.
Trim any excess thread.
- Decide on the beads you want to use for your bracelet
- You will need enough beads to wrap around your wrist several times, plus a few extra
- String the beads onto beading wire or thread, using a needle if necessary
- Leave about six inches of excess wire at the end
- Wrap the beaded wire around your wrist to measure how long it should be, then add or remove beads as necessary until it is the right size
- Make a loop at one end of the bracelet with the excess wire, then thread the other end through it to secure it in place
- 5) Trim any excess wire from the ends of the bracelet, then wear and enjoy!
Unique Wrap Bracelets
Wrap bracelets are all the rage these days, and for good reason! They are unique, stylish, and versatile. You can dress them up or down, and they look great with any outfit.
Plus, wrap bracelets are easy to make yourself! In this post, we’ll show you how to make three different types of wrap bracelets.
The first type of wrap bracelet is made with beads.
To make this type of bracelet, you will need:
-Beads in various colors and sizes (we used 8mm and 6mm beads)
-Elastic cord
-Scissors
-Needle nose pliers (optional)
Start by threading your elastic cord through your beads.
We used two colors of beads to create a pattern, but you can use as many or as few colors as you like. Once all of your beads are on the cord, tie a knot in one end to secure them in place. If necessary, use needle nose pliers to help pull the knot tight.
Now cut off any excess cord, leaving about 2 inches at the end. This will be used to secure the bracelet when it’s wrapped around your wrist.
To wear your bracelet, simplywrap it around your wrist several times and tie the ends together.
You can adjust how tight or loose it is by Wrapping it more or fewer times around your wrist. And that’s it! You now have a beautiful bead wrap bracelet that you made yourself!
Bohemian Wrap Bracelet Instructions
Assuming you would like a blog post about how to make a bohemian wrap bracelet:
If you’re looking for a summery accessory that’s both unique and easy to make, look no further than the bohemian wrap bracelet! This fun piece can be customized to suit your own personal style, and only requires a few supplies that you probably already have at home.
Best of all, it’s a quick project that won’t take up too much of your time. So grab your materials and let’s get started!
What You’ll Need:
-Scissors
-Ruler or measuring tape
-Lightweight leather cord (or other stringing material)
-Beads of your choice
First, measure out about 2.5 feet of leather cord and cut it with scissors. If you want your bracelet to be adjustable, leave a little extra length at the end so you can tie a knot.
Next, start threading beads onto the cord until you’ve reached your desired length. Once all the beads are in place, carefully tie each end of the cord into a knot, making sure it’s tight enough that the beads won’t slip off. Trim any excess cord and voila!
You’ve now got yourself a beautiful new bracelet to show off.
Multi Row Wrap Bracelet Tutorial
If you’re looking for a fun and easy jewelry project, try making a multi row wrap bracelet! This tutorial will show you how to make your own bracelet using just a few supplies.
You’ll need:
-1 yard of leather cord
-2 yards of beading wire
-10mm beads (optional)
-scissors
-clasp (optional)
Start by cutting two pieces of beading wire, each about 18 inches long.
String on beads if desired. Fold the wires in half and twist them together to form a loop. Next, take your leather cord and thread it through the looped end of the beading wire.
Tie a knot in the cord to secure it in place. Continue wrapping the cord around the wires, adding more beads if desired. When you reach the end of the cord, tuck the tail under another layer of wraps and trim off any excess.
If using a clasp, attach it now. And that’s it – you’ve made your very own multi row wrap bracelet!
How to Make Wrap Bracelets With String
Do you love unique, handmade jewelry but don’t know how to make it yourself? Today, I’m going to show you how to make beautiful wrap bracelets with string. These bracelets are fun and easy to make, and they look great on everyone!
To get started, you’ll need some thin cord or string in your favorite color (I like using embroidery floss), a pair of scissors, and a tape measure. Cut your cord or string to be about 3 feet long. If you want your bracelet to be adjustable, leave a few extra inches at the end.
Now it’s time to start wrapping! Take one end of the cord and wrap it around your wrist several times. Make sure the wraps are snug but not too tight – you should be able to slide two fingers underneath them easily.
Once you’ve wrapped the cord around your wrist enough times (I usually do between 7 and 10), tie it off with a double knot. Trim any excess cord from the ends.
Now take the other end of the cord and thread it through all of the loops on one side of the bracelet.
Wrap this end around your wrist a few times and tie it off with a double knot. You can now adjust the bracelet by pulling on either end of the string – just pull until it’s snug on your wrist and retie the knots if necessary. And that’s all there is to it!
Seed Bead Wrap Bracelet Tutorial
This bracelet is a great way to use up those seed beads that are left over from other projects! It’s also a very quick and easy project, perfect for beginners. The only materials you’ll need are some seed beads, thread, and a needle.
To start, thread your needle with about two feet of thread. Then string on approximately 60 beads. You can adjust this number depending on how long you want your bracelet to be.
Once all the beads are on the thread, tie a knot at the end to secure them.
Now it’s time to start wrapping the bracelet around your wrist. Start by making a loop with the thread and passing the needle through it (as shown in the first photo).
Then string on one bead and pass the needle back through the previous bead (second photo). Continue this pattern until you’ve used up all of your beads. Make sure to leave enough thread at the end so that you can tie off the bracelet.
When you’re finished, cut off any excess thread and tie a knot to secure the ends. Your beautiful new bracelet is now ready to wear!
:max_bytes(150000):strip_icc()/wrap_bracelet_main_w_button_2-58a692f55f9b58a3c9c52ef5.jpg)
Credit: www.thesprucecrafts.com
What Do You Need to Make a Wrap Bracelet?
To make a wrap bracelet, you will need:
-About 2 yards of thin cord or thread
-Scissors
-Tape measure or ruler
-Lighter (optional)
-Beads (optional)
Instructions:
1. Cut the cord or thread to your desired length. If you are using beads, add them on now.
It is helpful to use a tape measure or ruler to get an accurate measurement. Add about 6 inches to your wrist size for a comfortable fit. If you want a really loose fit, add 12 inches or more.
For example, if my wrist measures 6 inches, I would cut the cord at 18 inches.
2If you are using beads, string them onto the cord now before proceeding to the next step. You can add as many or as few beads as you like.
Get creative!
3Now it’s time to start wrapping the bracelet around your wrist. Leave about 6 inches of excess cord and begin wrapping tightly around your wrist in a clockwise direction until you’ve made about 7 wraps around (or until it feels snug enough).
Make sure that each subsequent layer is wrapped in the same direction so that the bracelet doesn’t become twisted.
4Once you’ve made enough wraps around your wrist, take the end of the cord and tuck it under one of the other layers of wrapping near where it meets your skin . . 5Use your lighter to carefully melt the end of the cord so that it adheres to itself and doesn’t come undone. Be very careful not to burn yourself! Alternatively, you could tie a knot in this spot instead if melting isn’t your thing.(I personally think melting works better and looks nicer)
And there you have it! A beautiful wrap bracelet that only took minutes to make!
How to Do a Bead Wrap?
Bead wrapping is a craft technique that involves wrapping beads around a wire or cord to create jewelry or other decorative items. It is a relatively simple process that can be learned by anyone with patience and some practice. Here are the basic steps for how to do a bead wrap:
1. Cut a length of wire or cord that is long enough to wrap around your wrist, neck, or other body part (plus an extra few inches for tying off the ends).
2. String on your beads, using as many or as few as you like. It helps to start with larger beads and then fill in with smaller ones.
You can also create patterns with your bead placement if you wish.
3. Wrap the wire or cord around your wrist, neck, or other body part, making sure that the beads stay in place. Once you have wrapped it tightly enough (but not too tightly), tie off the end securely with a knot.
Repeat on the other side, leaving about an inch of excess wire or cord at each end for attaching a clasp (if desired).
4. Trim any excess wire or cord from the ends and enjoy your new piece of jewelry!
How Do You Make a Bracelet With Cords And Beads?
Making bracelets with cords and beads is a fun and easy way to accessorize your outfits! Here’s how to do it:
1. Choose your cord.
You can use any type of cord, from string to ribbon to yarn. Just make sure it’s the right size for your wrist.
2. Cut a length of cord that’s about twice as long as you want your bracelet to be.
3. Tie a knot at one end of the cord. This will keep your beads from falling off.
4. String on your beads, using as many or as few as you like.
To keep things interesting, try using different sizes, colors, and shapes of beads.
What is the Best Beading Thread for Wrap Bracelets?
If you’re looking for the best beading thread for wrap bracelets, then look no further than Fireline! This strong and durable thread is perfect for creating beautiful and long-lasting bracelets that will stand the test of time. Made from braided fiber, Fireline is virtually invisible once it’s been woven into your bracelet design.
It’s also extremely strong, so you don’t have to worry about your bracelet coming undone. Plus, it comes in a variety of colors to match any beads or charms you might want to add to your bracelet.
How to Make a Beaded Wrap Bracelet
Conclusion
In conclusion, making wrap bracelets with beads is a fun and creative way to show your personality. With a little bit of practice, you can easily create beautiful bracelets that are perfect for any occasion.

