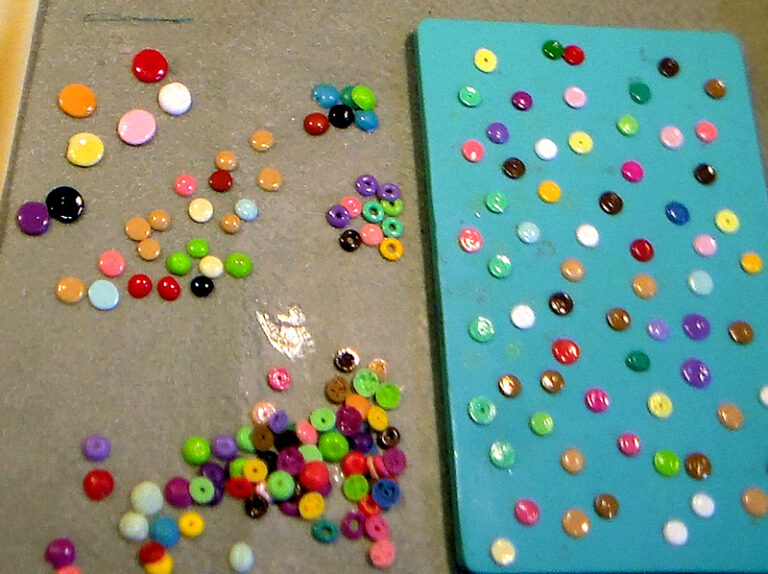
Ceramic beads are a beautiful and unique addition to any jewelry collection. Making your own ceramic beads is a fun and rewarding project that can be completed in just a few hours. All you need is some clay, a few tools, and a little bit of creativity.
Here’s how to make your own ceramic beads:
1. Start by rolling the clay into small balls. If you want your beads to be uniform in size, use a bead roller or pasta machine.
Otherwise, simply roll the clay between your hands until it forms into a ball.
2. Once you have your balls of clay, use a skewer or other sharp object to poke holes through the center of each one. These holes will become the stringing holes for your finished beads.
3. Next, place the beads on an oven-safe tray or wire rack and bake them according to the package directions for your specific type of clay. Polymer clays will require lower temperatures than standard ceramic clays.
4. Once baked, decorate your beads as desired using glazes, paints, or other materials designed for use with ceramics.
- First, gather the supplies you will need to make your ceramic beads
- These include a piece of clay, a bead roller, a pasta machine (optional), a cutting blade, and a kiln
- Condition your clay by working it with your hands until it is soft and pliable
- If you are using a pasta machine, run the clay through on the widest setting several times to condition it
- Cut the clay into long strips that are about 1/4 inch thick
- If you are using a cutting blade, be sure to use a cutting mat or something similar underneath to protect your surface and make clean cuts
- Begin rolling the strips of clay into beads using a bead roller
- You can also roll them by hand if you do not have a bead roller
- The important thing is to get an even thickness throughout each bead
- 5 Once all of your beads are rolled , place them on a baking sheet lined with parchment paper and bake in preheated oven at 275 degrees Fahrenheit for 15 minutes
- This will help harden the beads so they don’t break as easily when fired in the kiln later
- 6 After the initial bake , allow the beads to cool completely before moving on to the next step
How to make ceramic beads
How to Make Ceramic Charms
Ceramic charms are a fun and easy way to add personality to any project. Here’s how to make your own:
You’ll need:
– Clay (air dry or oven bake)
– Acrylic paint
– Paintbrush
– Sculpey glaze (optional)
– Jewelry findings (jump rings & clasp)
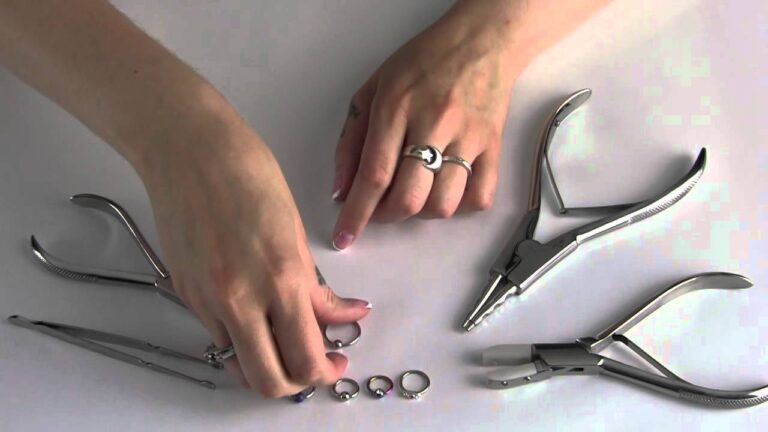
– Needle nose pliers
– Oven (if using oven bake clay)
1. Start by rolling your clay into a ball. Then, use your thumb to press an indentation into the center of the ball.
This will be the hole for your jump ring later on.
2. Use your hands or a rolling pin to flatten the ball of clay until it’s about ½” thick. then use whatever shape cutter you want to cut out your charm shape!
For this example, we used a heart shaped cutter.
3. Once you have all of your shapes cut out, it’s time to add any details with a toothpick or other sharp object before baking or drying them according to their instructions. If you’re using air dry clay, let them sit out overnight so they can harden completely.
4. Once they’re hardened, it’s time to start painting! We like using acrylic paint because it covers well and dries quickly, but feel free to use whatever type of paint you have on hand. Just make sure that whichever kind you use is meant for ceramic surfaces – some paints won’t adhere properly otherwise .
5. Once your paint is dry, you can optionally seal it with a layer of clear glaze . This isn’t necessary , but it can help protect the paint from chipping or fading over time .
6 . Now comes the fun part – adding your jump ring and clasp ! First , thread one end of your jump ring through the hole in your charm . Then , open up the other end of the jump ring with needle nose pliers and slip on the clasp before closing it back up again .
7 . And that’s it ! You now have a cute little ceramic charm perfect for adding some personality to any project .

Credit: claycult.com
How Do You Make Ceramic Beads Without a Kiln?
Ceramic beads can be made without a kiln by using a process called air dry clay. Air dry clay is a type of modeling clay that hardens on its own without being fired in a kiln. This makes it ideal for crafting projects that don’t require baking, such as jewelry making.
To make your own air dry clay beads, start by rolling the clay into small balls. Then, use a toothpick or skewer to poke a hole through the center of each ball. Once all of your beads are pierced, let them air dry for 24 hours or until they are hard to the touch.
Finally, string your beads onto some jewelry wire or thread and enjoy your new creation!
What are Ceramic Beads Made Of?
Ceramic beads are most commonly made from a clay body that has been mixed with other minerals and water to create a malleable material. Once the clay is formed into shapes, it is then fired in a kiln at high temperatures. This process hardens the clay, giving the beads their durability.
Some ceramic beads may also be glazed, which adds another layer of protection and can give the bead a different appearance.
What Clay is Best for Ceramic Beads?
There are many types of clay that can be used for ceramic beads, each with its own set of benefits and drawbacks. The most common types of clay used for beadmaking are earthenware, stoneware, and porcelain.
Earthenware is the least expensive and most forgiving type of clay.
It can be worked at lower temperatures than other clays, making it a good choice for beginners. However, it is also the weakest type of clay and is not as durable as stoneware or porcelain.
Stoneware is stronger and more durable than earthenware but must be worked at higher temperatures.
It is also more expensive than earthenware. Porcelain is the strongest and most durable type of clay but is also the most difficult to work with. It requires extremely high firing temperatures and precise attention to detail when crafting pieces from it.
How Do You Fire Ceramic Beads in a Kiln?
Firing ceramic beads in a kiln is a process that requires careful planning and execution. There are a few things to keep in mind when firing ceramic beads in a kiln:
1) Make sure the kiln is properly preheated before firing the beads.
The ideal temperature for firing ceramic beads is between 1800-2000 degrees Fahrenheit.
2) Place the beads on a kiln shelf that has been covered with either kiln wash or alumina oxide. This will help prevent the beads from sticking to the shelf during firing.
3) Once the beads have been placed on the shelf, cover them with another layer of either kiln wash or alumina oxide. This will help protect the beads from thermal shock during firing.
4) Set the timer for the desired amount of time and wait for the kiln to reach temperature.
Then, let the kiln cool down naturally before opening it up and removing the fired beads.
Conclusion
In conclusion, if you want to make ceramic beads, you will need clay, a rolling pin, a knife, and something to cut the clay with. You can find all of these things at your local craft store. Once you have all of your supplies, you will need to roll out the clay until it is about 1/4 inch thick.
Then use the knife to cut the clay into small strips. Next, use the cutting tool to make small circles out of the strips of clay. Finally, bake the beads in a preheated oven for 30 minutes.

